Numbing Cream Application Guidelines

Trusted by artists, estheticians and medical professionals, Zensa Numbing Cream is formulated with maximum-strength 5% lidocaine to support comfort during tattooing, microblading, laser treatments and injectable procedures. Follow the application guidelines below for optimal results.

Trusted by artists, estheticians and medical professionals, Zensa Numbing Cream is formulated with maximum-strength 5% lidocaine to support comfort during tattooing, microblading, laser treatments and injectable procedures. Follow the application guidelines below for optimal results.

Instructions

How To Apply Numbing Cream

Create a relaxing environment in your next treatment session with our fast-acting, easy-to-use numbing cream.

  • How Long To Leave Numbing Cream On For Tattoo

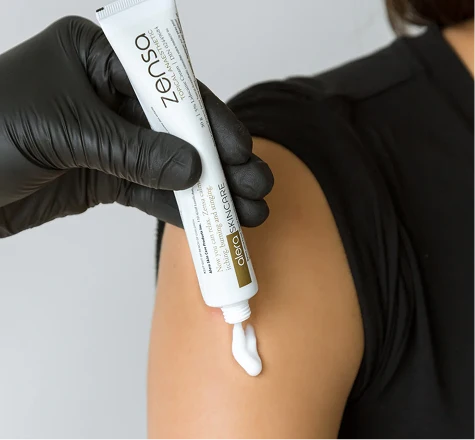
    1 CLEAN + APPLY

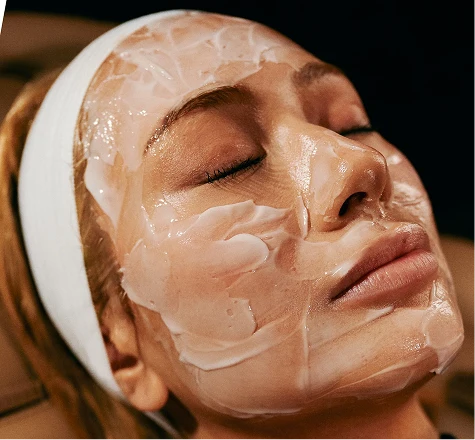
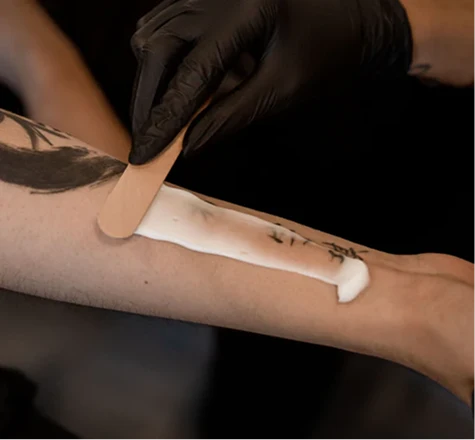
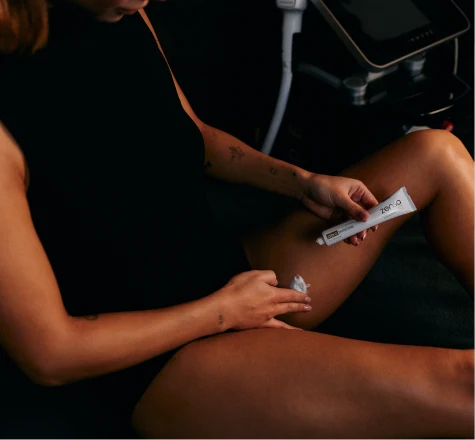
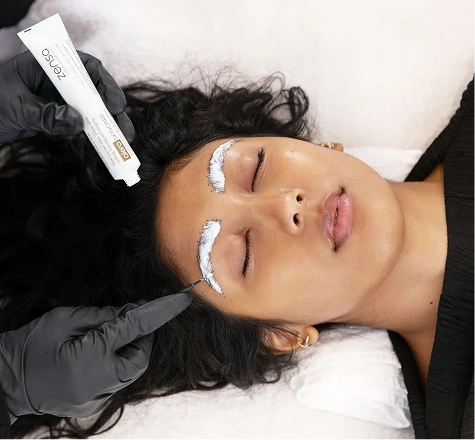
    Clean the skin thoroughly. For tattoos, exfoliate with a soapy, coarse cloth for 30 seconds before applying. For microblading, use a spoolie to exfoliate the brows. Then, using a sterile applicator, apply a thick layer of the cream directly to the treatment area. Do not rub into skin.

  • How Long To Leave Lidocaine Cream On

    2 SEAL OR WAIT

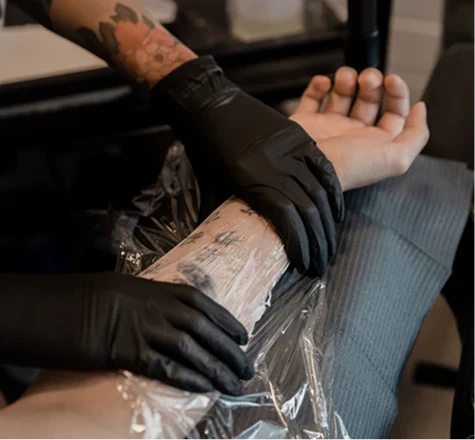
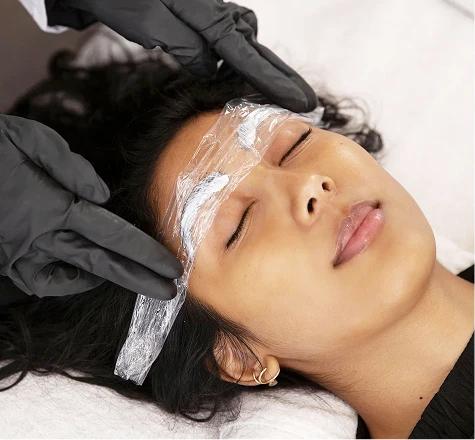
    For most procedures, cover the area with cling wrap (such as Press'n Seal or Tegaderm) for maximum absorption. For injections, simply wait. Leave the cream in place for the recommended duration based on your procedure type.

  • How To Apply Numbing Cream

    3 REMOVE + BEGIN

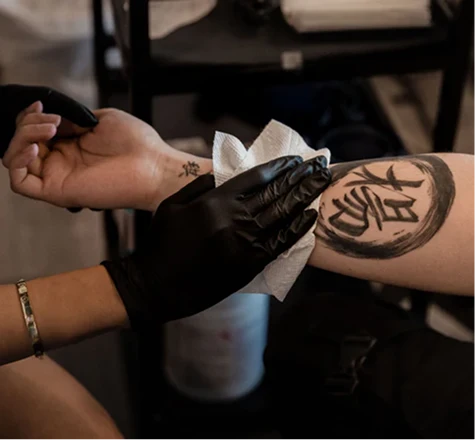
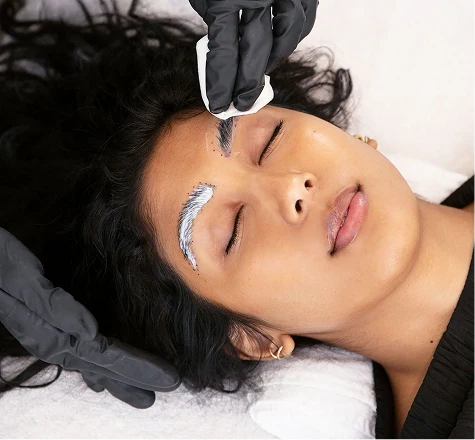
    Gently dab away (don't wipe) excess cream using sterile gauze or a Q-tip. Begin your procedure. It is safe to reapply Zensa on broken skin as needed.

How Long to Leave Lidocaine Cream On: Guidelines by Treatment Type

Select your specific treatment below to access targeted instructions, wait times, and expected results.

Cosmetic Treatments

Surface-level cosmetic procedures such as waxing and electrolysis require shorter application times than medspa treatments like laser resurfacing and ablative procedures. Refer to the application time guide below based on treatment depth and intensity.

CLEAN + APPLY

1 CLEAN + APPLY

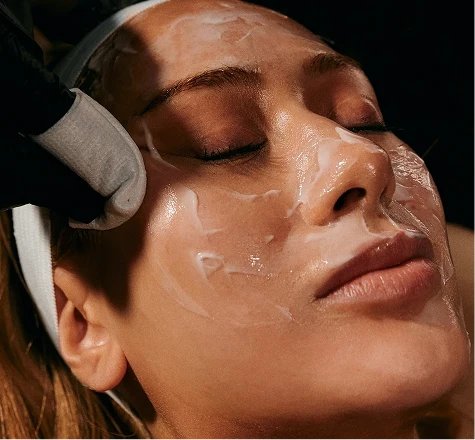
Clean the skin thoroughly with an alcohol swab. Using a sterile applicator, apply a half-inch thick layer of cream to the area. Do not rub into skin.

SEAL

2 SEAL

Cover the area with cling wrap for maximum absorption. Leave the cream in place for the recommended duration based on your treatment type.

REMOVE

3 REMOVE

Remove wrap. Gently dab away (don't wipe) excess cream using sterile gauze. Begin treatment. It is safe to reapply Zensa on broken skin, as needed.

Treatment Application Time
  • Injectables

    (Neuromodulators, dermal fillers, biostimulators, IV therapy)

    15–20 min
  • Gentle laser treatments

    (Non-ablative fractional lasers, IPL, laser hair removal, microneedling)

    20–30 min
  • Moderate laser treatments

    (non-ablative fractional lasers with higher energy, low-power ablative lasers)

    30–45 min
  • Aggressive/ablative laser treatments

    (CO2 lasers, Er:YAG resurfacing, fully ablative fractional lasers, RF microneedling)

    45–60 min
Tattoos

Tattoo procedures typically require the longest application time. When considering how long to leave numbing cream on for tattoo appointments, apply a thick layer 45–60 minutes before your session and cover with cling wrap for optimal absorption. After your appointment, apply tattoo recovery cream twice daily to support optimal healing and skin comfort.

EXFOLIATE + APPLY

1 EXFOLIATE + APPLY

Clean and exfoliate the skin with a soapy, coarse cloth for 30 seconds. Using a sterile applicator, apply a half-inch thick layer of cream to the area. Do not rub into skin.

SEAL

2 SEAL

Cover the area with cling wrap (such as Press'n Seal) for maximum absorption. Leave the cream in place for 30-45 minutes prior to stenciling.

REMOVE

3 REMOVE

Remove wrap. Gently dab away (don't wipe) excess cream using sterile gauze. Begin stenciling. It is safe to reapply Zensa on broken skin, as needed.

Hair Removal

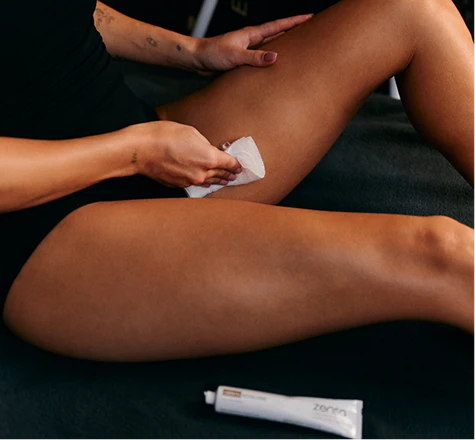
Hair removal treatments such as laser hair removal, waxing and electrolysis may require longer application times for maximum comfort and effectiveness.

EXFOLIATE + APPLY

1 EXFOLIATE + APPLY

Clean and exfoliate the skin with a soapy cloth for 30 seconds. Apply a half-inch thick layer of cream to the area. Do not rub into skin.

SEAL

2 SEAL

Cover the area with cling wrap (such as Press’n Seal) for maximum absorption. Leave the cream in place for 20-30 minutes (or 15 minutes prior to brazilian, underarm and upper lip waxing).

REMOVE

3 REMOVE

Remove wrap. Gently dab away (don’t wipe) excess cream using sterile gauze. Begin procedure. It is safe to re-apply Zensa on broken skin, as needed.

Permanent Makeup

Permanent makeup treatments such as microblading, lip blushing and freckle tattooing require shorter application time due to thinner, more reactive facial skin.

EXFOLIATE + APPLY

1 EXFOLIATE + APPLY

Complete your brow mapping, then use a spoolie to exfoliate the brows. (Note: this step is specific to microblading.) Next, use a sterile applicator to apply a half-inch thick layer of cream to the area. Do not rub into skin.

SEAL

2 SEAL

Cover the area for maximum absorption. Leave the cream in place for 15–25 minutes prior to the procedure.

REMOVE

3 REMOVE

Remove wrap. Gently dab away (don't wipe) excess cream using sterile gauze or a Q-tip. After the first pass, reapply as needed.

Health & Wellness Treatments

For health & wellness injections, fillers, PRP, weight loss injections or IV placement, apply the cream directly  to the treatment area before the procedure.

CLEAN + APPLY

1 CLEAN + APPLY

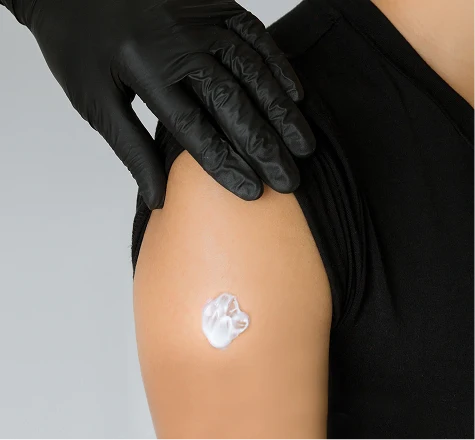
Clean the area thoroughly with an alcohol swab. Apply a pea-sized amount of cream directly onto the skin. Do not rub in.

WAIT

2 WAIT

Leave the cream in place for 15–20 minutes for maximum absorption. For fillers, PRP, or IV placement, wipe away the cream before proceeding.

INJECT

3 INJECT

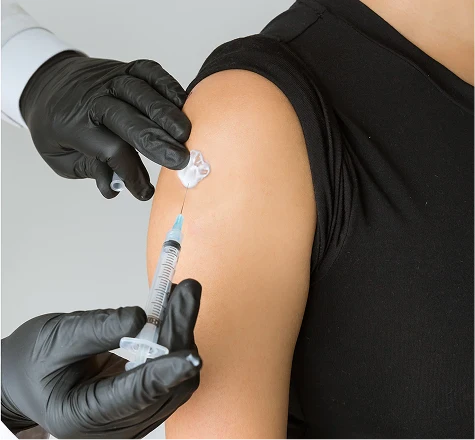
For health and weight loss injections, inject directly through the cream and into the skin. Once complete, wipe away any remaining cream.

Additional Safety Measures

Always follow product directions and professional guidance.
Perform a patch test if you have sensitive skin or are using the product for the first time.
Do not exceed recommended application amounts or duration.
Consult a professional if you are unsure about how to time or apply the product prior to your treatment.
Discontinue use if you experience any irritation or adverse reactions.
Tattoo Recovery Cream